How Custom Watch Dials Are Made
Custom watch dial design is one of the most creative parts of modern watchmaking. Movements matter, cases matter, and proportions matter, but the dial is the surface you return to every time you check the time. It controls the personality, readability, texture, color, depth, and emotional feel of the whole watch.
That is why custom dials are such an important part of the Rexx Timepieces and Meshberg Watches ecosystem. A dial can make a familiar case feel completely different. It can turn a Seiko mod into a personal object, give a small-batch watch its identity, or make a one-off build feel like it came from a real bench instead of a catalog.
This guide explains how custom watch dials are made, from the first design idea to CAD planning, metal blanks, laser engraving, surface finishing, reverse etching, mounting, and final assembly. The exact process changes from dial to dial, but the core decisions are always the same: design, material, tolerances, finish, and how the dial will survive inside a working watch.
The Short Answer
Custom watch dials are made by turning a visual idea into a precise physical part. The process usually includes design planning, dial blank preparation, engraving or printing, surface finishing, color or contrast work, mounting preparation, hand-clearance checks, and final inspection inside the actual watch.
A good custom dial is not only attractive on the bench. It must fit the movement, fit the case, align with the hands, survive assembly, remain readable under the crystal, and make sense with the watch’s proportions.
Why the Dial Matters So Much
The dial is not just decoration. It is the face of the watch and the part that carries most of the visual information. Marker layout, text placement, hand contrast, texture, color, and finish all affect how the watch feels on the wrist.
A great dial has to do two things at once. It needs to look interesting, but it also needs to work. The hands must clear the surface. The indices must be readable. The dial must fit the movement and case. If there is a date window, it has to align cleanly. If the dial is too thick, too warped, or poorly mounted, the whole build can fail.
That balance between creativity and mechanical reality is what makes dial making so interesting. It is art, but it is art with tolerances.
Step 1: Designing the Dial
Most custom watch dials begin with a concept. That concept may start as a sketch, a reference, a digital drawing, a CAD file, or a visual idea from aviation, architecture, tools, instruments, vintage watches, workshop materials, or a specific story behind the build.
The design stage is where the visual idea has to become a usable watch part. A dial designer needs to think about:
- Movement compatibility
- Dial diameter
- Dial thickness
- Center hole position
- Date window position, if used
- Hand clearance
- Index placement
- Logo and text scale
- Case opening and chapter ring relationship
Even small changes in spacing can change the whole watch. A marker that looks good on a screen can feel too heavy once it is placed under a crystal. Text that looks balanced in a large CAD view may become unreadable at wrist size. This is why custom dial work requires both design taste and practical watch-building experience.
Step 2: Preparing the Dial Blank
Once the design is clear, the physical dial begins with a blank. Custom dial blanks can be made from brass, copper, stainless steel, or another material chosen for the specific finish and machining process. Brass is popular because it engraves well, finishes well, and gives the dial a warm metal character.
The blank needs to be cut to the correct diameter and thickness before decorative work begins. This sounds simple, but it is one of the practical foundations of the whole dial. If the blank is too thick, hand clearance can become a problem. If it is not flat, the dial may not sit properly. If the diameter is wrong, it may not fit the case or chapter ring cleanly.
The blank also has to work with the movement. That means thinking about the center hole, dial feet or alternative mounting method, and any date window or cutout. Before the dial becomes beautiful, it has to become mechanically believable.
Step 3: Engraving and Creating the Dial Texture
This is where the dial starts to develop its character. In small independent workshops, laser engraving can be used to cut textures, patterns, logos, indices, numerals, and surface details directly into the metal. It allows a level of experimentation that is difficult to achieve with mass-produced dial parts.
Traditional dials may use printing, stamping, applied markers, brushing, sunburst finishing, pad printing, or guilloche-style textures. Modern workshop dials can combine several approaches. A dial might be laser engraved, hand sanded, polished, colored, oxidized, painted, cleared, or finished in stages until the surface has the right balance of contrast and depth.
At this stage, the dial is still vulnerable. Engraving too deep can create problems. Engraving too light may disappear after finishing. Fine text can lose clarity. Large textures can overpower the hands. The best dial work usually comes from testing, adjusting, and understanding how the finish will behave after each step.
Step 4: Hand Finishing
Even when modern tools are used, much of the final dial quality comes from hand finishing. Machine precision can create the pattern, but the hand work often decides whether the surface feels alive.
Common finishing steps can include micro-sanding, brushing, polishing, cleaning, controlled oxidation, color work, clear coating, or selective finishing across raised and recessed areas. The goal is not only to make the dial look cleaner. The goal is to control how light moves across the surface.
Micro-sanding can soften engraving marks while preserving the texture. Polishing can bring contrast to raised details. Brushing can make the dial feel more technical. A darker finish can make engraved elements feel deeper. A brighter finish can make the dial feel sharper and more instrument-like.
This is where a dial stops being just a file or a blank. It starts becoming an object.
Step 5: Creating Indices, Logos, and Dial Text
Dial markers and logos can be created in several ways. Traditional dials may use printed text and applied indices. In laser-based workshop processes, another useful method is reverse etching.
With reverse etching, the surrounding surface is engraved or recessed while the logo, indices, numerals, or text are left standing above the cut area. Instead of adding markers later, the dial itself creates the raised elements.
This can create very sharp alignment because the design is cut from one coordinated file. It can also produce a strong industrial or sculptural feel, especially when the raised details catch light differently from the recessed texture.
The tradeoff is that every choice matters. If the raised elements are too thin, they may look weak. If they are too large, they can dominate the dial. If the engraving depth is wrong, the contrast may not be strong enough. This is why test pieces and workshop experience matter.
Alternative Mounting Methods in Small Workshops
Standard dials often use dial feet that attach to the movement. In custom work, especially when experimenting with materials or one-off dials, alternative mounting methods may be used. These must be chosen carefully because the dial still needs to sit flat, stay secure, and avoid interfering with the movement or hands.
Some custom builders use dial dots or other controlled attachment methods when dial feet are not practical. This can work, but it requires clean preparation and careful alignment. A dial that shifts even slightly can ruin hand alignment or make the watch look unfinished.
In other words, mounting is not an afterthought. It is part of the dial design.
Step 6: Color, Contrast, and Surface Protection
Once the structure and texture are established, the dial may receive color or surface treatment. This could be paint, patina, plating, oxidation, lacquer, clear coat, or another finishing approach depending on the desired result.
Color is not only about taste. It affects readability. Dark hands on a dark dial may look dramatic in a photo but become difficult to read on the wrist. Highly reflective surfaces can look beautiful but make the watch harder to photograph or read in strong light. Matte surfaces may be more legible but less visually deep.
A good dial finish balances character with function. The watch should still work as a watch.
Step 7: Final Assembly and Inspection
After the dial is finished, it has to survive assembly. This is where the work connects directly to Seiko modding and custom watch building. The dial is mounted to the movement, hands are installed, hand clearance is checked, the movement is cased, and the final watch is inspected under light.
This stage can expose problems that were invisible earlier. A dial may look perfect on the bench but feel too dark under the crystal. Hands may not contrast enough. A marker may feel too close to the rehaut. Dust may appear on a surface that looked clean a minute earlier.
The best custom dial work includes this feedback loop. Design, make, assemble, inspect, adjust, and learn. That is how the next dial becomes better.
Watch the Dial Process
The video above is from Rexx Timepieces. It belongs here because custom dials make more sense when you see the physical process: design, material handling, engraving, finishing, cleaning, and assembly checks.
How Custom Dials Connect to Seiko Mods
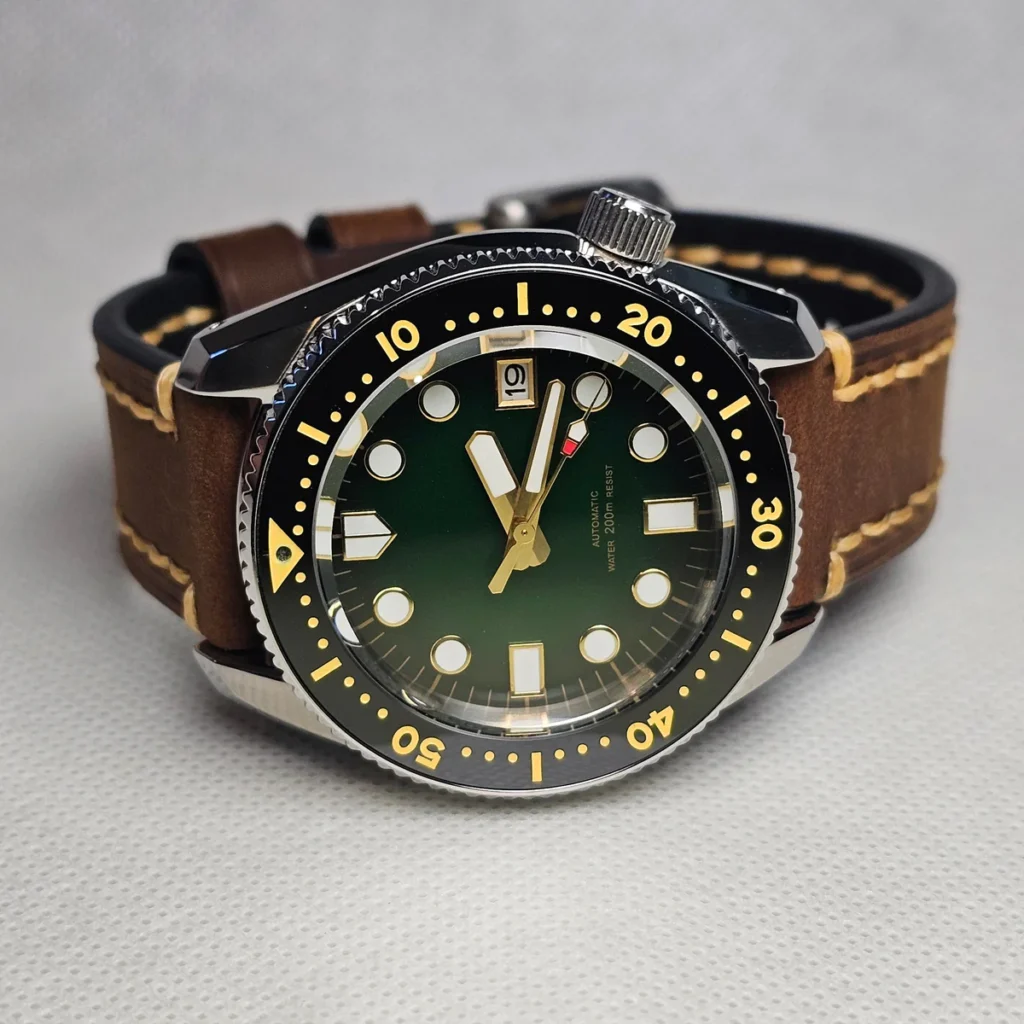
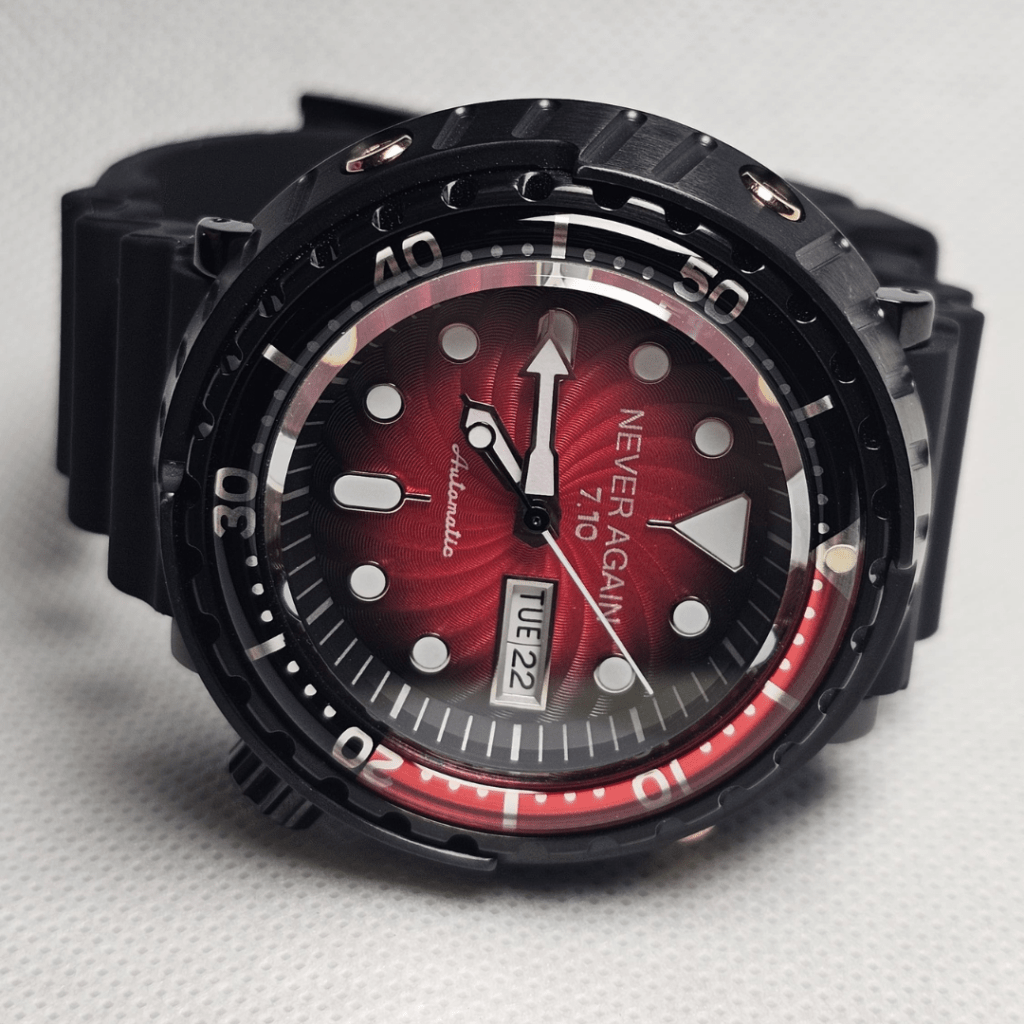
Custom dials are one of the strongest ways to make a Seiko mod feel personal. A case and movement can be familiar, but the dial changes the identity of the watch. It decides whether the build feels like a diver, an instrument, a dress watch, a field watch, or something completely outside normal categories.
For beginners, the important lesson is that dials are both visual and technical parts. Before using a custom dial, check movement compatibility, dial size, date position, hand clearance, case opening, and the way the dial will be mounted.
These guides connect directly:
- What Is Watch Modding?
- Seiko Modding Parts Explained
- Best Seiko Mod Parts
- Best Tools for Seiko Modding
- Common Seiko Modding Mistakes
- How to Build a Seiko Mod
When a Custom Dial Should Become a Workshop Build
A custom dial is not always the right place to practice for the first time. If the dial is handmade, engraved, sentimental, expensive, or difficult to replace, it may be smarter to let an experienced builder handle the final assembly.
That does not make the watch less personal. It simply separates the design goal from the learning curve. A person can guide the dial idea, color, case direction, and final feel without risking a one-off dial during a first hand-setting attempt.
This is where Rexx custom watches and Rexx dial design fit naturally. The goal is to make the idea physical without pretending every owner needs to become a bench watchmaker.
Rexx, Meshberg, and the Workshop Layer
This is also where the wider ecosystem becomes clear. The Watcher HQ explains the process. Rexx Timepieces lives close to the custom watch, dial design, laser engraving, and workshop build side. Meshberg Watches uses the same craft language in a quieter, small-batch independent watch context. Rexx StudioWorks supports the physical craft layer through handmade dials, engraved objects, coins, and workshop-made pieces.
The point is not to treat custom dials as decoration added at the end. The dial is often where the whole idea of the watch becomes visible. It is the bridge between design, handwork, machine work, and the finished object.
Final Thoughts
Custom watch dials are made through a combination of design, material preparation, engraving, finishing, mounting, and careful assembly. The work can be technical, artistic, frustrating, and deeply satisfying all at once.
The best dials are not only beautiful in isolation. They belong to the watch. They fit the movement, clear the hands, match the case, hold up under the crystal, and make the watch feel intentional every time you look at it.
That is why dial making matters so much. It is where the watch becomes personal.