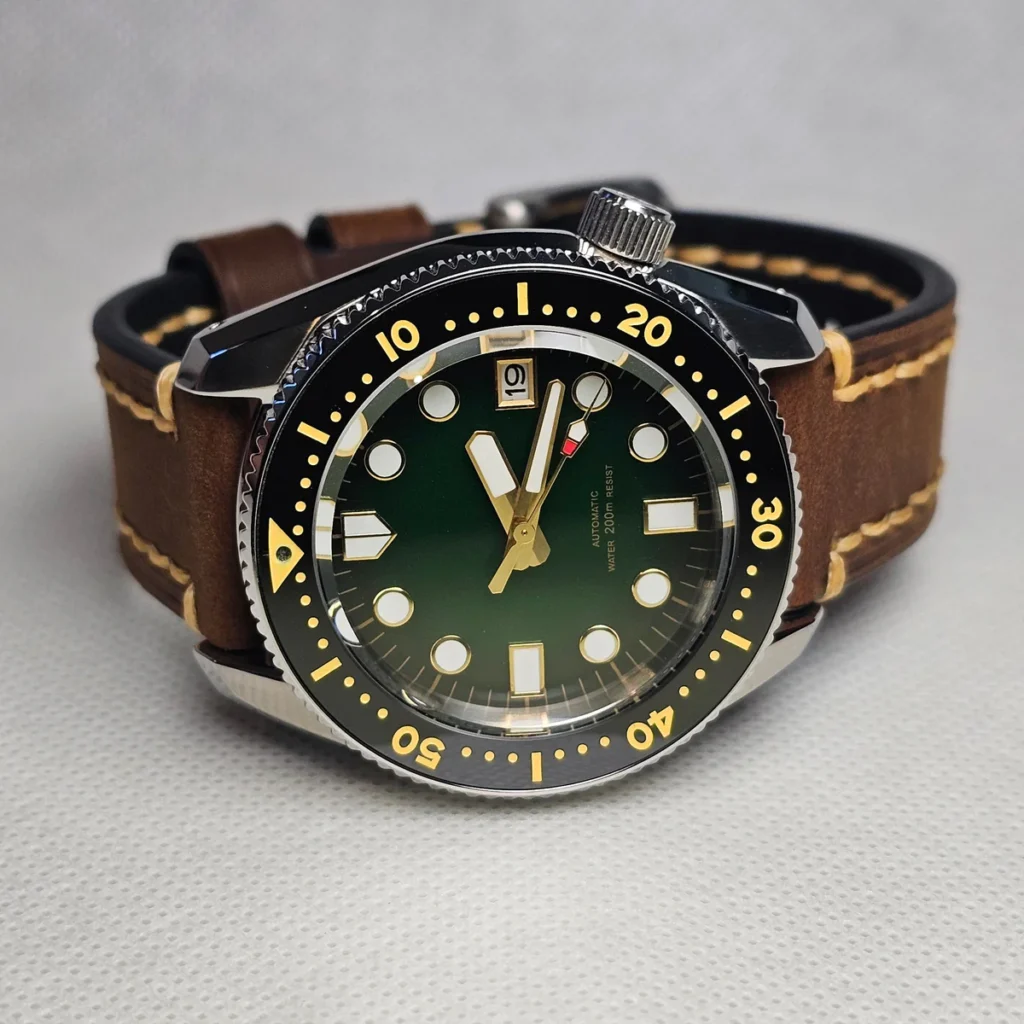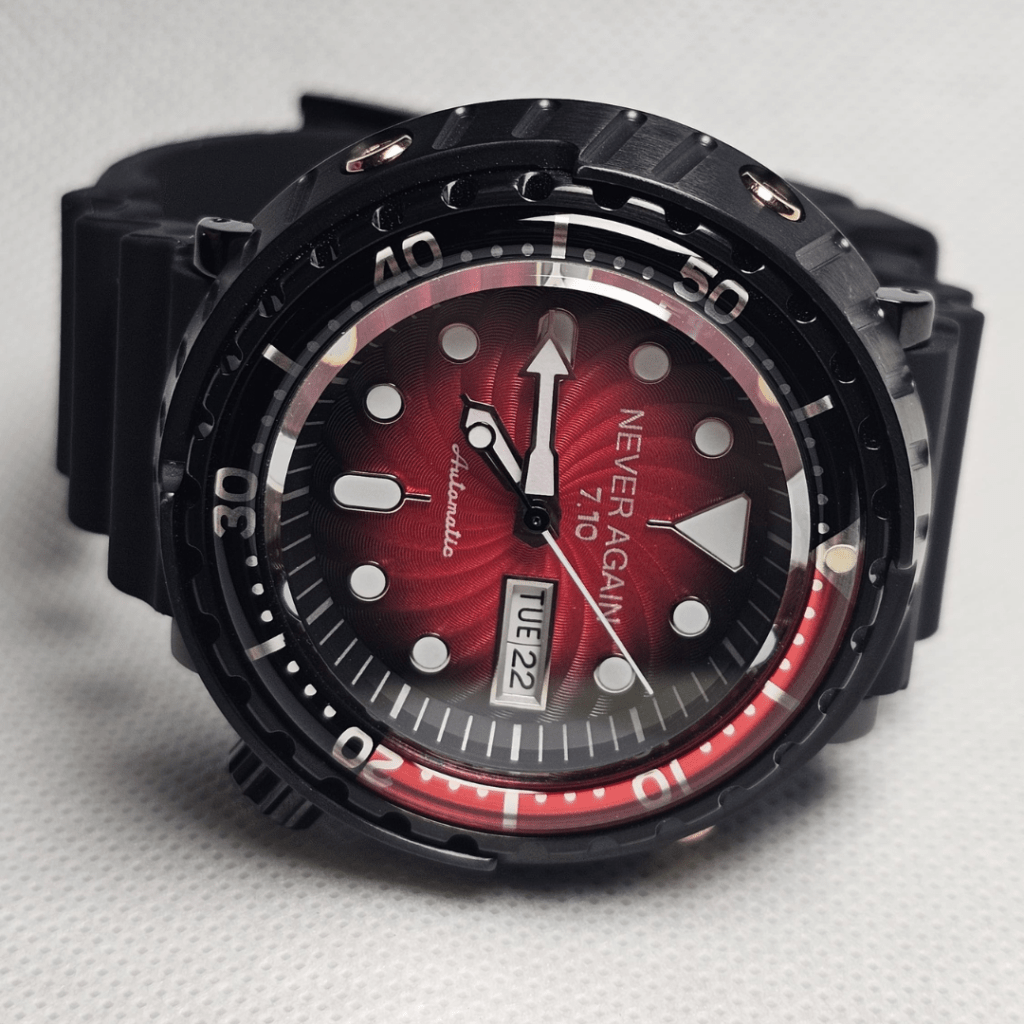
Learning how to build a Seiko mod is one of the most practical entry points into custom watches. Instead of only buying a finished watch, you choose the parts, decide the design direction, and assemble the watch piece by piece.
That freedom is exciting, but it also means the build can fail in small, annoying ways. A dial can be incompatible. Hands can rub. Dust can get trapped under the crystal. A crown stem can be cut too short. The watch can look perfect from the front and still wear badly on the wrist.
This guide walks through the real build order, the parts you need, the checks to make before assembly, and the mistakes beginners should avoid. If you are still new to the concept, start with What Is Watch Modding?. If you want build ideas first, read Best Seiko Mods You Can Actually Build.
The Short Answer
To build a Seiko mod, choose a compatible movement and case, match the dial and hands to that movement, prepare a clean workspace, install the dial, set and check the hands, case the movement, trim and fit the crown stem, close the case, attach the strap or bracelet, and inspect the finished watch carefully.
The hardest parts are not glamorous: compatibility, cleanliness, hand alignment, stem length, and patience. If the watch uses an expensive custom dial or needs to be gift-quality, consider a workshop build instead of making it your first practice project.
What Is a Seiko Mod?
A Seiko mod is a customized watch built with Seiko-compatible parts, usually around reliable mechanical movements such as the NH35 or NH36. The final watch may use a Seiko base, aftermarket parts, or a fully selected set of compatible components.
Some Seiko mods are simple: a new strap, bezel insert, or crystal. Others are full custom builds using a case, dial, hands, movement, crown, crystal, and strap chosen from scratch.
The reason Seiko modding became so popular is the parts ecosystem. There are thousands of compatible dials, hands, cases, bezels, chapter rings, crowns, and crystals. That creates huge freedom, but it also creates risk. Compatibility matters as much as taste.
Before You Start: Decide the Build Direction
Do not start by buying parts. Start by deciding what kind of watch you are building.
A clean daily diver, a compact dress build, a bold Tuna-style tool watch, and a dial-led custom piece should not use the same design logic. The case, hands, dial, and strap need to support the same idea.
Before ordering anything, write down:
- Purpose: daily watch, dress watch, tool watch, display piece, or workshop experiment.
- Size: case diameter, lug-to-lug length, thickness, and wrist fit.
- Style: vintage, modern, diver, field, dress, industrial, minimal, or expressive.
- Focal point: dial, bezel, case shape, handset, texture, color, or engraving.
- Budget: parts, tools, spare parts, and the cost of mistakes.
This sounds simple, but it prevents the most common beginner problem: buying parts that are individually cool but visually wrong together.
Parts You Need for a Seiko Mod
Every full Seiko mod starts with a core group of components.
- Case
- Dial
- Hands
- Movement, usually NH35, NH36, or NH34 depending on the build
- Crystal
- Bezel and bezel insert, if the case uses them
- Chapter ring, if required by the case
- Crown and stem
- Caseback and gaskets
- Strap or bracelet
Choosing parts is not just about whether they fit. It is about whether they make sense together. A well-built mod is a coherent design, not a random mix of components.
Before buying, check movement compatibility, dial diameter, dial feet position, hand sizes, case type, chapter ring fit, crown stem requirements, crystal size, and date window position. For a deeper breakdown, read Best Seiko Mod Parts and Seiko Modding Parts Explained.
Tools You Need Before Assembly
You do not need a huge workshop for a beginner Seiko mod, but you do need the correct basic tools. Improvising with the wrong tools is how parts get scratched, hands get bent, and movements get damaged.
- Caseback opener
- Movement holder
- Hand removal tools
- Hand pressers
- Rodico or similar cleaning putty
- Dust blower
- Fine tweezers
- Finger cots or gloves
- Spring bar tool
- Crystal press, if changing crystals or bezels
- Loupe or magnification
- Clean mat and dust-controlled workspace
The most important tool is patience. The second most important tool is a clean workspace. For the complete tool list, read Best Tools for Seiko Modding.
Step 1: Prepare the Movement
The movement is the foundation of the entire build. Most beginner Seiko mods use NH35 or NH36 movements because they are affordable, reliable, and widely supported by aftermarket parts.
Choose the function before ordering the surrounding parts: NH35 for date, NH36 for day-date, or NH34 for a fourth GMT hand. Our NH35 vs NH36 vs NH34 guide explains the dial, hand-stack, crown-position, and case-clearance consequences.
Before installing anything, inspect the movement. Keep it in a holder, avoid touching it with bare fingers, and protect it from dust. Check that the stem position matches the case and dial configuration. A 3 o’clock crown setup and a 3.8 o’clock crown setup are not always interchangeable without consequences.
If the movement includes a date or day/date complication, make sure the dial window lines up with the calendar. A beautiful dial with the wrong date position is not usable.
Step 2: Install the Dial
The dial defines the personality of the watch. It also controls many technical details: date window placement, marker alignment, hand contrast, and movement fit.
Some dials attach with dial feet. Others require dial dots or adhesive pads. Dial dots are common in modding, but they need to be placed carefully so the dial sits flat and does not interfere with the movement or date wheel.
Custom dials take this further. A handmade or engraved dial can turn the entire watch into a one-off piece, but it also requires careful planning around thickness, indices, hand clearance, and finishing. For the full dial-making process, read How Custom Watch Dials Are Made.
Workshop dial experiments and handmade pieces also live naturally inside Rexx StudioWorks, where the focus is the craft itself: dials, engraving, textures, and small-batch workshop objects.
Step 3: Install the Hands
Installing hands is one of the most delicate parts of the process. This is where many beginner builds go wrong.
The hour hand, minute hand, and seconds hand must be aligned correctly and pressed to the correct height. If the hands are too low, they can touch the dial or markers. If they are too high, they can touch each other or the underside of the crystal.
If the watch has a date change, advance the movement until the date flips, then use that position as midnight before installing the hour and minute hands. After installing them, rotate the hands through a full cycle to check for rubbing, clearance, and calendar behavior before installing the seconds hand.
Do not rush this stage. A slightly crooked seconds hand can stop the entire watch.
Step 4: Case the Movement
Casing the movement brings the dial, hands, and movement into the case. The movement should sit securely, the crown should engage cleanly, and the dial should align with the chapter ring or case opening.
This is also where stem cutting becomes important. The crown stem often needs to be trimmed to the correct length. Cut too long and the crown will not sit properly. Cut too short and the stem may not engage correctly. Beginners should measure slowly and cut in small steps.
Before closing the caseback, use a blower and cleaning putty to remove dust. Check the crystal from multiple angles. Dust that looks tiny during assembly becomes painfully obvious once the watch is sealed.
Step 5: Final Assembly
Final assembly is where the watch becomes complete.
- Install or check the crystal.
- Install the bezel and insert if the case uses them.
- Fit the caseback and gasket.
- Attach the bracelet or strap.
- Clean the case, crystal, and bracelet.
- Inspect hand alignment, dust, date change, and crown operation.
At this stage, the watch is no longer a collection of parts. It becomes a finished piece with its own identity.
Step 6: Inspect and Test the Finished Watch
Inspection is not optional. Check the watch under strong light and from different angles. Look for dust, marks, crooked hands, loose hands, calendar issues, bezel misalignment, crown problems, and strap fit.
Let the watch run. Check that it winds, sets, changes date correctly if relevant, and continues running after the hands pass midnight. If water resistance matters, have the watch pressure tested before trusting it near water.
A finished build should look clean, run properly, and feel wearable. If it only looks good in one photo, it is not finished yet.
Watch the Build Process
The video above is from Rexx Timepieces. Watching the process helps explain why build order, hand alignment, dust control, and patient finishing matter. A good mod is not just a parts list. It is execution.
Common Beginner Mistakes
Most first builds fail in predictable ways. The good news is that you can avoid many of them by slowing down before buying parts and before closing the case.
- Buying parts before deciding the design direction
- Ignoring crown position and dial feet
- Choosing hands that are too short or too hard to read
- Forgetting hand clearance under the crystal
- Cutting the stem too short
- Leaving dust under the crystal
- Assuming water resistance without pressure testing
- Mixing too many design references in one watch
For a fuller breakdown, read Common Seiko Modding Mistakes.
When a Workshop Build Makes More Sense
Building your own watch is worth it when the learning process is the point. If the goal is a clean finished watch, a meaningful gift, a custom dial, or a polished concept, a workshop build can make more sense.
Rexx Timepieces works in the custom-watch side of the ecosystem: Seiko mods, custom dials, engraving, finishing, case/movement/dial decisions, and real workshop process. That route lets the owner participate in the concept without using the finished watch as a practice piece.
For the decision side, read Should You Build Your Own Watch?.
How This Connects to Independent Watches
Once you build or study a Seiko mod, you start noticing independent watches differently. Case proportion, dial balance, hand length, finishing, and restraint become easier to see.
That is part of the reason Meshberg Watches belongs in the broader ecosystem. Meshberg is the quieter independent-watch layer: small-batch production, refined proportions, and dial-led character rather than loud decoration.
Final Thoughts
Learning how to build a Seiko mod is not only about assembling a watch. It is about learning how watches work as physical objects. The parts have to fit, but the design also has to make sense.
If you want to learn, start simple and accept mistakes as part of the process. If you want a refined finished watch, work with someone who already understands the bench. Both paths are valid. The important thing is knowing which one you are choosing.